Legacy Soundbar Integration With AV Receivers Simplified
By Aisha Kapoor • 10th Jan
primary keyword integration: If you're wrestling with legacy home theater soundbar integration, you're not alone. Many of us have that trusty soundbar gathering dust while our newer AV receiver handles everything, yet we long for that soundbar with AV receiver synergy that delivers crystal-clear dialogue without disturbing the whole household. Today, I'll show you how to weave these components together seamlessly for true comfort volume listening.
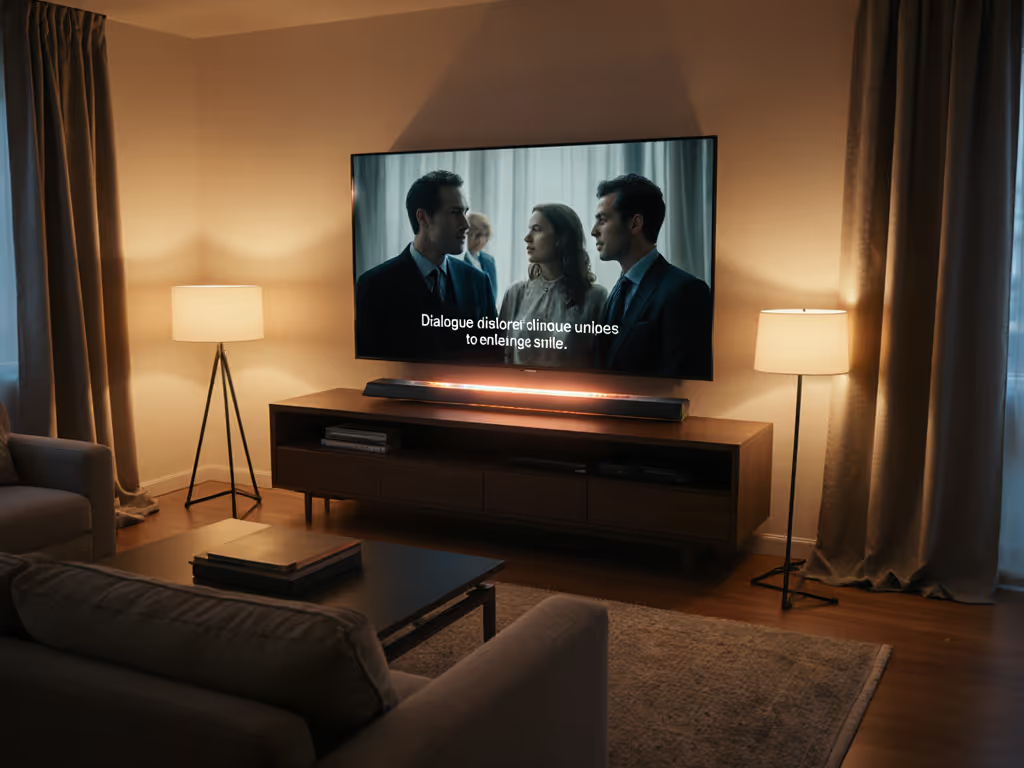
Picture this: It's 9 PM after the kids' bedtime. You're finally relaxing with a movie, but explosions feel thin while whispers vanish completely. Everyone keeps asking, "What did they say?" You've got a perfectly good soundbar and AVR, but they're not talking to each other. Let's fix that.
Why One-Remote Harmony Matters More Than Specs
When I first struggled with legacy home theater soundbar integration, I made the classic mistake of focusing on decibels instead of dialogue. I wanted big sound, but what my family actually needed was comfortable listening at safe volumes (especially during quiet-hours viewing). The revelation came when I stopped chasing maximum SPL and embraced dialogue-first thinking.
If you can't hear whispers, it isn't immersive. Even before changing settings, small position tweaks help—see our soundbar placement guide for room-perfect tips.
Your soundbar likely has features purpose-built for this exact challenge: voice enhancement, night mode processing, and sometimes even dedicated dialogue lift settings. But when disconnected from your AV receiver's ecosystem, these become useless. True one-remote harmony means your soundbar works as an extension of your receiver, not a separate device requiring constant reconfiguration.
Step 1: Assess Your Legacy Gear Compatibility
Before connecting anything, perform this quick compatibility check:
- Check your receiver's pre-out options (often labeled "preamp out" or "line out")
- Identify your soundbar's input types (optical, coaxial, 3.5mm, RCA)
- Verify if your soundbar supports passthrough mode (critical for projector setups)
For vintage audio system soundbar integration, focus on analog connections first, most legacy soundbars accept RCA inputs even if their primary connection is optical. The good news? Almost all AV receivers from the past 15 years have pre-outs that output processed center channel audio, which is exactly what your soundbar needs to function as a dialogue enhancement engine.
Your soundbar's sweet spot isn't maximum volume (it's the volume where your partner approval check passes without hesitation).
Step 2: The Center Channel Connection Method (Best for Dialogue Clarity)
This is the gold standard for soundbar compatibility with older equipment when seeking dialogue clarity. Here's how to implement it:
- Power down both your receiver and soundbar
- Connect RCA cables from your receiver's "Center Pre-Out" to your soundbar's "Line In" or "Aux In"
- Configure your receiver:
- Set speaker configuration to "Small" for all channels
- Disable the physical center channel
- Enable "Pre-Out Mode" or "Processor Mode"
- On your soundbar, select the appropriate input source
- Run your receiver's auto-calibration (this tells it to redirect center channel to pre-outs)
This method transforms your soundbar into a dedicated dialogue processor (exactly where most legacy systems need the most help). For projector setups without HDMI-CEC, this analog connection bypasses ARC/eARC complexities entirely.
Step 3: Optical Connection Alternative (For Simpler Setups)
When an analog to digital soundbar transition makes sense for your configuration:
- Connect your source devices (streaming box, Blu-ray player) directly to your AV receiver
- Route receiver audio to TV via HDMI (carrying video)
- Connect TV audio out (optical) to your soundbar
- Disable TV internal speakers
This setup works well for rentals where you can't modify receiver settings. The trade-off? You lose receiver processing for the soundbar, but gain simplicity. For soundbar for projector setup scenarios, this approach avoids lip-sync issues common with HDMI audio extractors. If you're running a projector-centric theater, see our projector soundbar setup guide for model picks and placement tips.
Step 4: The Quiet-Hours Optimization Checklist
After successful legacy home theater soundbar integration, implement these dialogue-first tweaks:
- Enable Dynamic Range Compression (called "Night Mode" on most receivers)
- Boost center channel level by 1 to 3 dB in receiver settings
- Reduce subwoofer output by 3 to 6 dB to prevent boominess at low volumes
- Create a dedicated "Bedtime" scene that activates these settings with one button
- Test with actual dialogue-heavy content (not action movies)
I discovered this quiet-hours tuning made the difference between constant volume adjustments and genuine relaxation. For dialed-in night listening, follow our soundbar presets guide to optimize modes for movies, sports, and news. When hosting movie night after bedtime, we finally finished films without rewinds, and nobody tiptoed past the nursery door. That's spatial cues working for family harmony, not against it.
Troubleshooting Common Integration Headaches
"My dialogue still disappears during action scenes"
Adjust your receiver's Dynamic EQ settings toward "Reference" rather than "Midnight" (many night modes over-compress dialogue). Look for "Dialogue Enhancer" or "Voice Clarity" in your soundbar settings.
"HDMI-CEC keeps turning off my soundbar"
Disable CEC on the soundbar while keeping it active on your receiver. For device-specific fixes (Apple TV, Fire Stick, Roku), use our HDMI-CEC compatibility guide. Your receiver becomes the control hub, maintaining one-remote harmony without device conflicts.
"Connection causes audio delay with my projector"
Set audio delay on your receiver to match your soundbar's processing time (typically 100 to 150 ms). Many projectors lack lip-sync correction that TVs have.
"Soundbar works but receiver shows 'No Signal'"
This is normal (your receiver doesn't monitor the pre-out signal). Check connections visually and trust the audio output.
The Real-World Performance Test
After integrating your legacy soundbar with AV receiver, run this 5-minute validation:
- Play a scene with soft dialogue (news broadcast works well)
- Set volume to comfortable level (where you can still hear a whisper)
- Without adjusting volume, play an action sequence
- Verify dialogue remains clear during loud passages
- Check if neighbors complain about bass (critical for apartment living)
If you pass this test, you've achieved the holy grail of home audio: comfort volume that works for everyone in shared spaces. This is where legacy soundbar integration transitions from technical exercise to daily joy.
Optimizing for Your Specific Space
Apartment Living Solutions
- Place soundbar slightly below TV to reduce wall reflections
- Use furniture-absorbing materials near listening position
- Engage "Bass Tone Control" to roll off frequencies below 80 Hz
- Set maximum volume limit in receiver settings
Projector Setup Tweaks
- Use receiver's "Direct" or "Pure Direct" mode to minimize processing
- Disable video processing in receiver for lowest latency
- Connect soundbar to receiver via optical rather than HDMI for stable signal
Multi-Source Harmony
Create input labels that match your actual usage:
- "TV + Soundbar" (for broadcast TV through receiver)
- "Streaming + Dialog" (for apps with dialogue enhancement)
- "Gaming + Low Latency" (bypassing night mode)
Final Verdict: Why This Integration Path Wins
After years of helping families achieve one-remote harmony, I've found that proper legacy home theater soundbar integration delivers what most setups miss: consistent dialogue clarity at volumes that don't compromise household peace.
The center channel method (Step 2) earns my strongest recommendation because it:
- Preserves your receiver's room correction processing
- Delivers true dialogue-first performance where it matters most
- Works with virtually all legacy equipment without special adapters
- Creates a seamless partner approval check experience
- Maintains quiet-hours functionality without compromise
Unlike complex multi-speaker setups or expensive upgrades, this approach honors your existing investment while solving the core problem: hearing every word without blasting the volume. Your soundbar wasn't meant to replace your receiver, it was meant to enhance what your receiver does best.
When your movie nights end with laughter instead of "What did they say?" and nobody has to shush the remote, you've achieved the real measure of success in home audio. That's the kind of comfort volume that transforms viewing from a technical challenge into shared enjoyment (the backbone of everyday harmony in any home).
Related Articles
Comparisons & Face-Offs
Sealed vs Ported Subwoofer Bass: Noise-Friendly Performance
19th Jan•6 min read
Comparisons & Face-Offs
Best HDMI 2.1 Soundbars for Gaming: Tested VRR and ALLM Performance
1st Jan•9 min read